
Last Updated on November 25, 2025
As I explained in my last article, usertesting.com is a website that pays you to share your thoughts about various products/services/websites/apps. Now you find it intriguing and want to try out what this is all about. So here is a step-by-step guide to creating an account on usertesting.com and some helpful tips along the process:
Step 1: Sign up to become a tester.
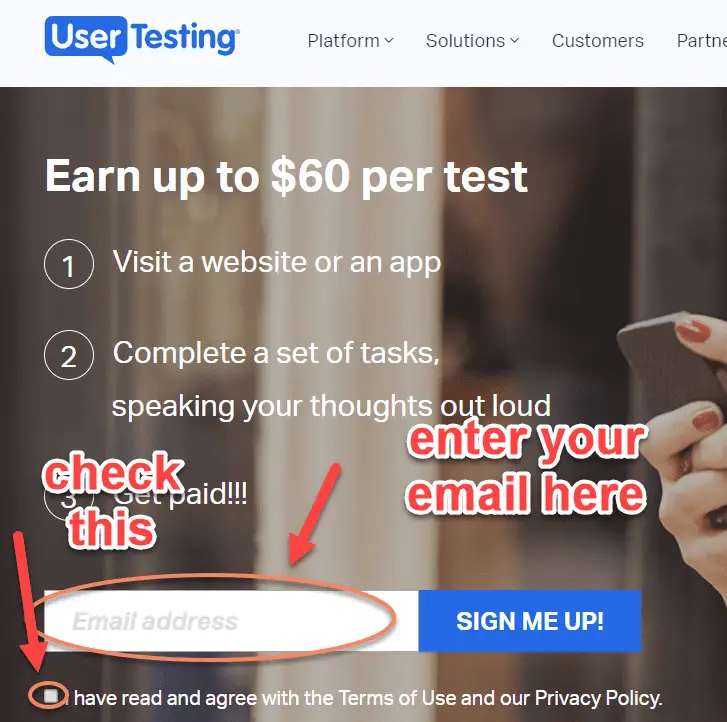
Go to their “Become a tester” page. You will be greeted by a text box asking you to enter your email address.
Now check your email inbox (the one you signed up with), it will contain a link to complete your application.
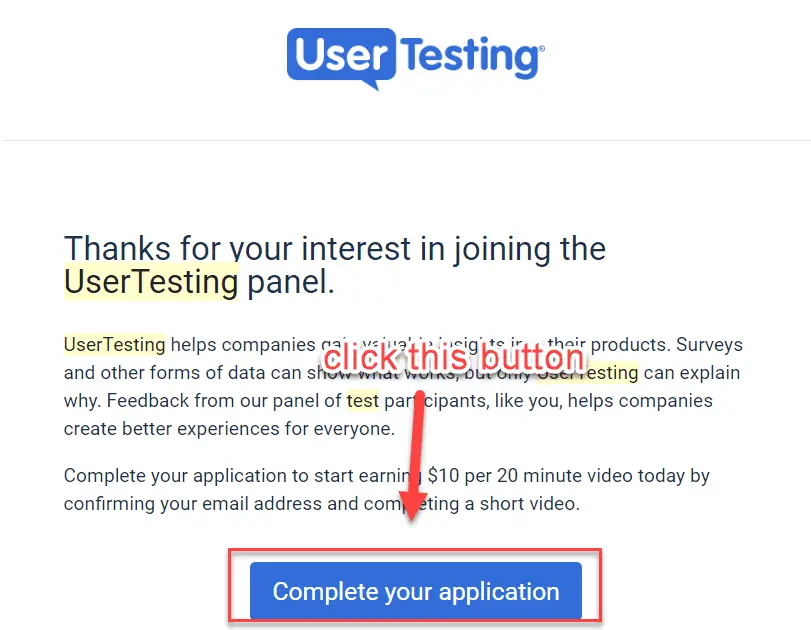
Upon clicking the above button, you will be taken to their tester signup process. Here is what it looks like.
Step 2: Completing your application
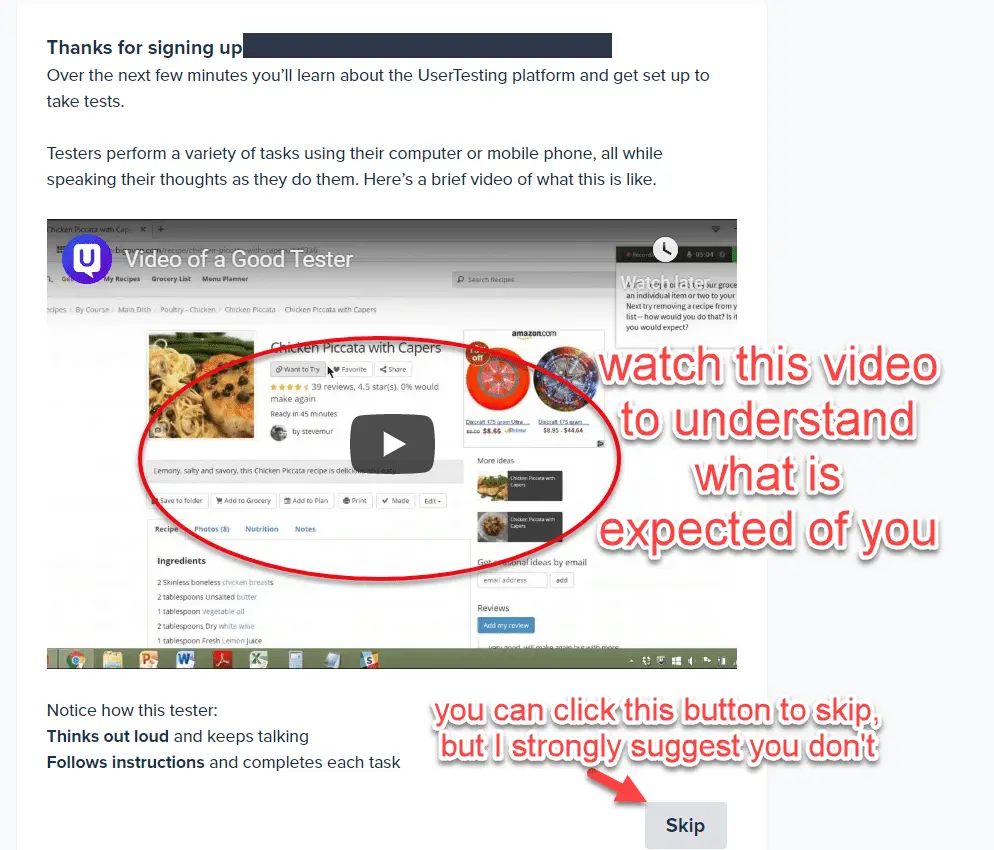
After clicking the link in the email, you will be taken to their signup page. You will first be greeted by a page that explains how to become a good user tester. I strongly recommend you to watch the video to understand what they will be expecting of you.
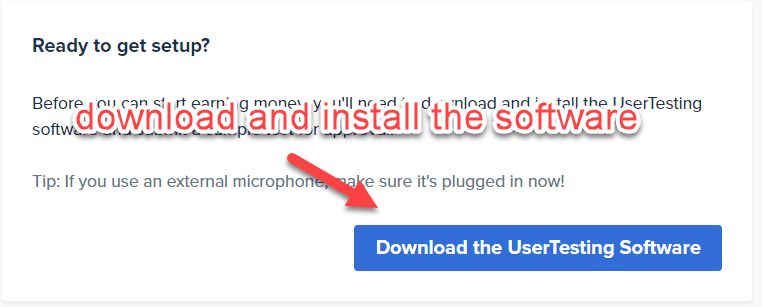
Then, you will be asked to download the usertesting software. Note that it is a screen recording software, that will be activated whenever you are giving a test. This software helps them to seamlessly record and upload your tests, even if their are interruptions in one form or the other (such as a flaky internet connection).
Step 3: Give their qualification/sample test for approval
Before you start sweating, don’t worry. It’s a very simple test, where you just need to browse a website and speak your thoughts out loud regarding the tasks given to you. They just want to test whether you understand the concept of user testing, and how you can be beneficial to the client.

I suggest you watch the video given in the link to get some valuable tips and get approved in the very first try.
You can also check out my article on the common mistakes people make in the usertesting qualification test, and how to fix them.
Infact, in my experience I don’t think anyone would get rejected in this. It’s a pretty simple and straightforward test and doesn’t take more than 10 minutes. You can also watch the video here:
Step 4: Wait for approval
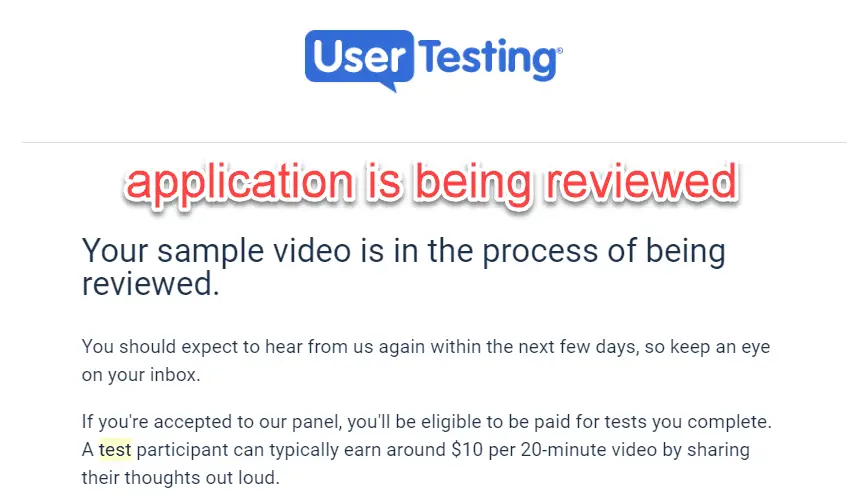
Once you have submitted the test, your application will be put under review and will be checked by their team. You will receive an email like this:
And after some wait, hopefully, they will approve your application. In my case, I received a reply from them on the next day itself.
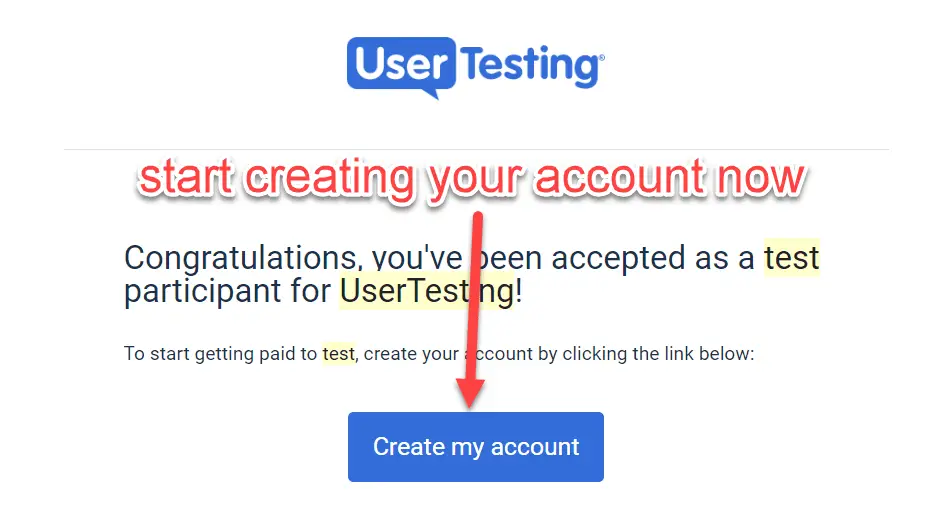
Once you have done that, you can start creating your usertesting account and begin taking tests right away.
Step 5: Start Qualifying for Screeners
After getting approved, usertesting is just like any other site you must have used. Still, here are some tips on what to do next:
- Create your account. Set up your email, paypal payment address and password.
- Complete your profile. Add the devices you own, your social network profiles, etc. These help in getting you more tests.
- Take the lessons. If you have some doubts, you can visit their Help Center, accessible from your dashboard.
- Start taking tests. Log in to your dashboard and start taking tests. If you don’t see any tests, then wait for a “ding” sound, that comes whenever a new test is available.
Tests come and go on a first-come, first-serve basis. And there are several things I would like to tell you about it. I will write a different article altogether for using usertesting.com. Also remember, Testing isn’t a get-rich-quick scheme, but you can easily make some cash on the side. Happy testing.
If you are interested in a more fulfilling and better job, that can guarantee you a substantial monthly income, consider becoming an Appen agent or a Clickworker. Or if you want to take the Freelancer route, you can try finding gigs on sites like Fiverr and others. But remember that this means that you have to learn some basic stuff like invoicing (by the hour) to properly earn in the gig economy. I will soon share a tutorial about the same on this website. Till then, you can try Zintego.com for your invoicing needs.
The Complete Usertesting Guide: Signup, Sample Test, Ratings, and Earnings Explained

Usertesting Payment Wall
How to qualify for more screeners in Usertesting (and maximize your earnings)?
How to become a 5-star tester in Usertesting?
Passing the Usertesting Sample Test (Guide+Tips)

Ready to work with you
Excited to have you.